Don’t aspire to make a living, aspire to make a difference.
– Denzel Washington
Table of Contents
Introduction
HTML forms allow users on a web page to enter data that will be sent to a server for processing. HTML forms are a powerful way of interacting with a web application. They include various elements called controls like (Text Input, Checkboxes, Radio Box, Select Box, e.t.c).
The HTML forms are enclosed inside a <form></form> element. The <form> element has various attributes, some of which includes the action attribute, the target attribute and the method attribute.
The Action Attribute
The action attribute helps to determine the type of form data that will be sent to the server after the submission of a form.
<form action="/testpage.php">
  <label for="name">name:</label><br>
  <input type="text" id="name" name="name" value="Jane">
  <label for="email">Email:</label>
  <input type="email" id="email" name="email" value="Doe"><br><br>
  <input type="submit" value="Submit">
</form>
From the above code, the form data is sent to a file called “testpage.php” with the help of the action attribute.
The Target Attribute
This attribute specifies to the browser the particular page to display the response that is received once the form has been submitted.
Also, The Target attribute can have the values below:
<form action="/testpage.php" target="_blank">
- The response is displayed in a new browser window or tab.
<form action="/testpage.php" target="_self">
- The response is displayed in the current window. This is the default value of the Target attribute.
<form action="/testpage.php" target="_parent">
- The response is displayed in the parent frame
<form action="/testpage.php" target="_top">
- The response is displayed in the full body of the window
The Method Attribute
The Method attribute specifies the particular Hypertext Transfer Protocol (HTTP) method to be used when submitting form data.
There are two types of HTTP method attribute that can be used with the <form> element. They include the GET and POST.
The GET Attribute
<form action="/testpage.php" method="get">
- The example above uses the GET method when submitting the form data.
The POST Attribute
<form action="/testpage.php" method="post">
- The example above uses the POST method when submitting the form data.
Also, one of the most used elements in an HTML form is the <input> tag. The <input> tag can be displayed in so many ways within the HTML form. Some of which includes:
| Type | Description |
|---|---|
| <input type=”text”> | Displays a single-line text input field. It is the default type of the input element. |
| <input type=”radio”> | Shows a radio button (for selecting one of many choices). |
| <input type=”checkbox”> | Displays a checkbox (for selecting zero or more of many choices). |
| <input type=”submit”> | Shows a submit button (for submitting the form). |
| <input type=”button”> | Displays a clickable button. |
Now that we’ve covered the basics of the HTML form, let us dive into the various form events.
HTML Form Events
1). onblur Event
The onblur event renders when an object loses its focus. The onblur event is mostly used with form validation, that is, when a user leaves a form field.
SYNTAX in HTML
<element onblur="myFunction">
Example
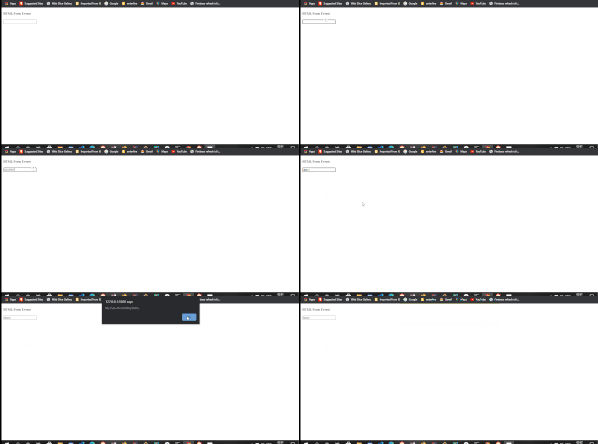
Here, we will create an input field that displays an alert box once the input field loses focus,
index.html
<!DOCTYPE html>
<html lang="en">
<head>
  <meta charset="UTF-8">
  <meta name="viewport" content="width=device-width, initial-scale=1.0">
  <title>HTML Form Events</title>
</head>
<body>
  <h4>HTML Form Events</h4>
  <input type="text" id="myInput" onblur="blurFunction()">

  <script src="app.js"></script>
</body>
</html>
Above we have a function called blurFunction() which is declared inside an onblur attribute. Then we have our script tag linked top our JavaScript page, where we will perform the alert operation.
app.js
const inp = document.getElementById("myInput")

function blurFunction() {
const val =  document.getElementById("myInput").value

const blurry = "blurry"

if(val === blurry) {
  alert("My Eyes Are Getting Blurry.")
}
}
In the JavaScript file, we:
-
- Accessed the input field by its id called myInput inside the blurFunction function.
- Declared a variable called blurry
- Then we created a condition that if the value typed in the form is called blurry, then an alert box should pop up once the input field loses focus.
RESULT
2). onchange Event
The onchange event occurs when the value of an element is changed. It is used in HTML elements such as <input > <select> and <textarea>.
SYNTAX in HTML
<element onchange="myFunction">
Example
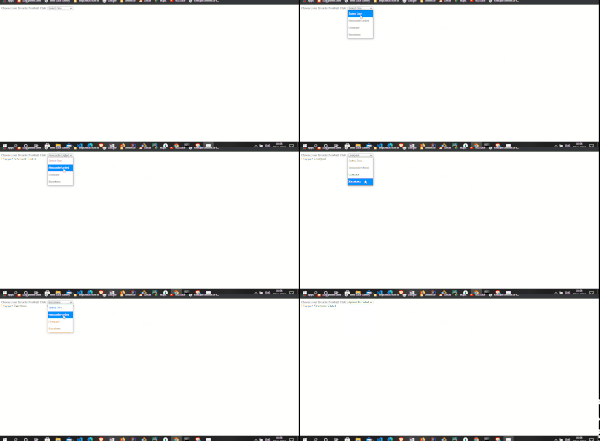
Here, we will create a select element that returns different values on the DOM, based on the change event.
index.html
<!DOCTYPE html>
<html lang="en">
<head>
  <meta charset="UTF-8">
  <meta name="viewport" content="width=device-width, initial-scale=1.0">
  <title>HTML Form Events</title>
</head>
<body>

  <label>Choose your favorite Football Club:
    <select class="club" name="club" onchange="clubSelect()">
      <option value="">Select One …</option>
      <option value="Newcastle United">Newcastle United</option>
      <option value="Liverpool">Liverpool</option>
      <option value="Barcelona">Barcelona</option>
    </select>
  </label>

  <div class="result"></div>

  <script src="app.js"></script>
</body>
</html>
In the HTML page, we have a select element that shows various options with their values. The two important things to take note of here is:
- The clubSelect() function in the onchange event attribute.
- The div that contains the result class. This is where we will display the value of our event.
app.js
function clubSelect() {
  const result = document.querySelector('.result');
  result.textContent = `I Support ${event.target.value}`;
}
Here what we simply did was:
- Declare the clubSelect() function created in the HTML page. This gives us access to the change event.
- Create a result variable that accessed the .result class.
- Assigned the result variable to the textContent method, which helps us to set a given text to the node like so.
RESULT
3). oncontextmenu Event
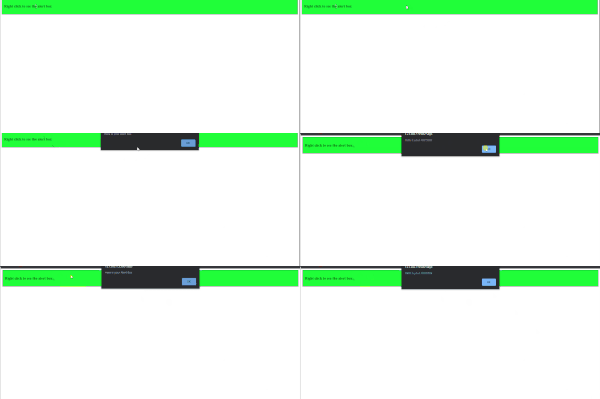
The oncontextmenu event performs its action when the user right-clicks the mouse on an object on the window. The oncontextmenu event is supported in all browsers.
SYNTAX in HTML
<element oncontextmenu="event">
Example
In this example, we will be displaying an alert box within a div when we right-click, instead of the context menu options.
index.html
<!DOCTYPE html>
<html lang="en">
<head>
  <meta charset="UTF-8">
  <meta name="viewport" content="width=device-width, initial-scale=1.0">
  <title>HTML Form Events</title>
  <link rel="stylesheet" href="style.css"/>
</head>
<body>
</head>
    <body>

    <div oncontextmenu="myAlert()">
      <h3>Right click to see the alert box</h3>
    </div>
  <script src="app.js"></script>
</body>
</html>
In the HTML file, we have a div that contains the oncontextmenu event attribute. The attribute contains the function called myAlert(), which will be used in the JavaScript file to create the alert box.
app.js
function myAlert() {
  alert("Here is your Alert Box");
}
In the app.js file, we called the myAlert() function and declared an alert box within it when the oncontextmenu is fired within the div.
style.css
div {
  background: chartreuse;
  border: 2px solid black;
  padding: 10px;
}
RESULT
4). onfocus Event
The onfocus event fires when a user sets the focus of the mouse on a particular element on the web page. It is the opposite of the onblur event.
It is mostly used with the with <input>, <select>, and <a> HTML elements.
SYNTAX in HTML
<element onfocus="myFunction">
Example
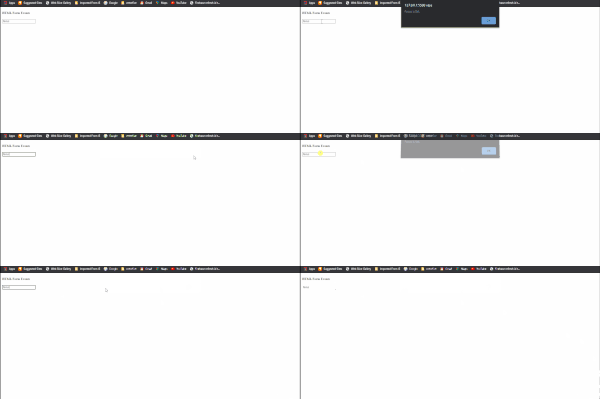
Here we will display an alert box when the input field is in focus.
index.html
<!DOCTYPE html>
<html lang="en">
<head>
  <meta charset="UTF-8">
  <meta name="viewport" content="width=device-width, initial-scale=1.0">
  <title>HTML Form Events</title>
</head>
<body>

  <h4>HTML Form Events</h4>
  <input value="focus" type="text" id="myInput" onfocus="focusFunction()">

  <script src="app.js"></script>
</body>
</html>
In the file above, we:
- declared the onfocus event inside an input element.
- created a value attribute with the word focus
- Then we linked the file to out JavaScript file, where the magic happens.
app.js
function focusFunction() {
  const val =  document.getElementById("myInput").value

  const focus = "focus"

  if(val === focus) {
    alert("Focus is Set.")
  }
  }
In the app.js file we:
- Called the focusFunction() function.
- Created the val and focus variables. The val variable accessing the input field, while the focus variable holds the word focus.
- Then finally, we created a condition that says if the value of the form contains the word “focus” and the input field is in an onfocus event state, an alert box should be displayed.
RESULT
5). oninput Event
The oniput event fires when the value of a text element like the <input> or <textarea> is changed. Similar to the onchange event, the main difference is that the input event gets triggered immediately when there is a change, whereas the onchange event occurs only when the element has lost focus.
SYNTAX in HTML
<element oninput="myFunction">
Example
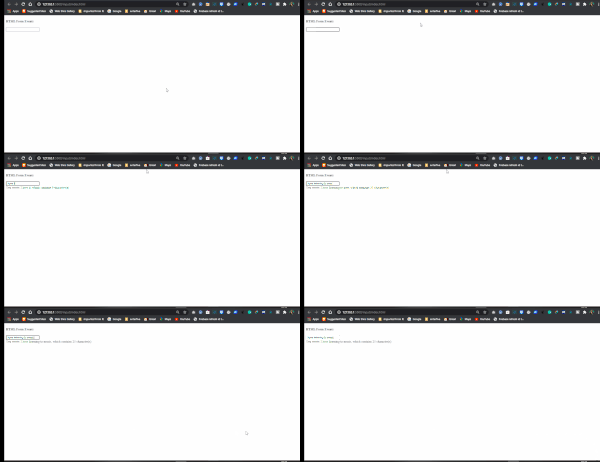
Here, we will display the value of the input field on the page as the value gets changed.
index.html
<!DOCTYPE html>
<html lang="en">
<head>
  <meta charset="UTF-8">
  <meta name="viewport" content="width=device-width, initial-scale=1.0">
  <title>HTML Form Events</title>
</head>
<body>
  <h4>HTML Form Events</h4>
  <input type="text" id="myInput" oninput="myFunction()">
  <div id="demo"></div>

  <script src="app.js"></script>
</body>
</html>
Above we:
-
- Created an input tag. Inside which we have an id called “myInput“, which we will refer to in the JavaScript file.
- We also have the oniput event attribute declared.
- As well as a div containing the id called “demo”.
app.js
function myFunction() {
  let values = document.getElementById("myInput").value;
  document.getElementById("demo").textContent = `You wrote: ${values}, which contains ${event.target.value.length} character(s) `;
}
The app.js file is straight forward. All we did was:
- Refer to our myFuction() function from the HTML page.
- Declared a variable called values, that accesses the input element.
- Then we accessed the div with the id of demo, which is where we will display the text from the input field.
- With the help of the textContent method, we can assign the texts to the div tag.
RESULT
6). oninvalid Event
The oninvalid event occurs when a submittable input element is invalid and does not meet certain conditions. In most case, an error message is shown stating why the input submission is not valid.
SYNTAX in HTML
<element oninvalid="myFunction">
Example
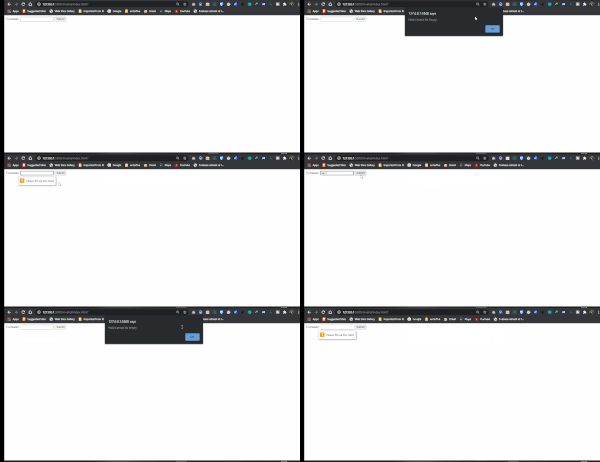
Here we display an alert box that shows a message when an empty is submitted in the input field.
index.html
<!DOCTYPE html>
<html lang="en">
<head>
  <meta charset="UTF-8">
  <meta name="viewport" content="width=device-width, initial-scale=1.0">
  <title>HTML Form Events</title>
</head>
<body>

  <form>
    Username: <input type="text" oninvalid="testValidity()" required>
    <input type="submit" value="Submit">
  </form>

  <script src="app.js"></script>
</body>
</html>
From the HTML file above, we created an input field that is expected to take in a username. Inside the input field, we have a function called testValidity(). This function will be used to display our alert box in the JavaScript file.
app.js
function testValidity() {
  alert('Field Cannot Be Empty')
}
Here we simply reference the function called testValidity() set inside the oninvalid event attribute in the HTML file. Anytime the form is submitted with an input empty filed, the alert box will display the message “Field Cannot Be Empty”.
RESULT
7). onreset Event
The onreset event occurs when a user clicks on a reset button within a form. This set the form back to the predefined state.
SYNTAX in HTML
<element onreset="myFunction">
Example
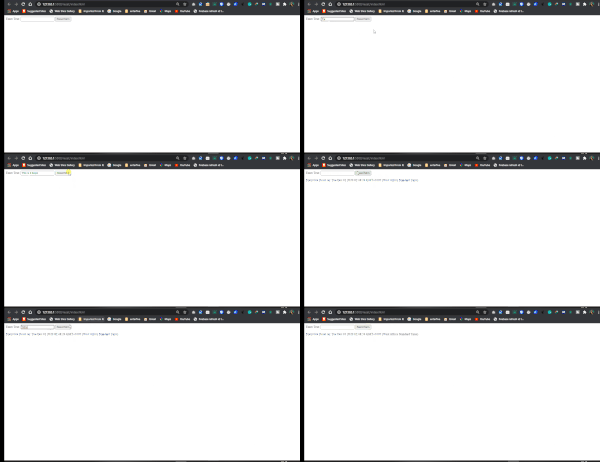
In this example, we will create an input field that gets cleared once the reset button is clicked. Once this event fires, we will log the time in which the form was clicked on the browser page.
index.html
<!DOCTYPE html>
<html lang="en">
<head>
  <meta charset="UTF-8">
  <meta name="viewport" content="width=device-width, initial-scale=1.0">
  <title>HTML Form Events</title>
</head>
<body>

  <form id="form" onreset="resetForm()">
    <label>Enter Text: <input type="text"></label>
    <button type="reset">Reset form</button>
  </form>
  <p id="display"></p>

  <script src="app.js"></script>
</body>
</html>
Here we:
- Created a form tag that takes in an id and an onreset event attribute.
- Created an input field that takes in some text.
- A reset button that sets the state of the form to empty.
- Lastly, we create a p tag that carries an id called display to show the time the form was reset.
app.js
function resetForm() {
  const display = document.getElementById('display');
  display.textContent = `Form Got Reset on: ${(new Date())}`;

}
In the JavaScript file we simply:
- Made reference to our resetForm() function.
- Accessed the display id from the HTML page.
- Next, we append the textContent method to display the current date as at when the rest button is clicked.
RESULT
8). onsearch Event
The onsearch event occurs when a user initiates a search inside an <input> element. The <input> will have a type of “search” for this to get fired.
SYNTAX in HTML
<element onsearch="myFunction">
Example
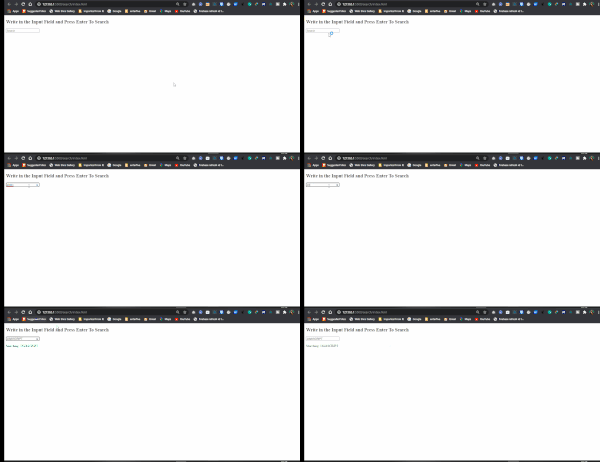
We will create an input field that allows users to search once the enter button is pressed. The searched value will be shown on the page.
index.html
<!DOCTYPE html>
<html lang="en">
<head>
  <meta charset="UTF-8">
  <meta name="viewport" content="width=device-width, initial-scale=1.0">
  <title>HTML Form Events</title>
</head>
<body>

    <h2>Write in the Input Field and Press Enter To Search</h2>
    <input type="search"placeholder="Search" id="searching" onsearch="searchInput()">

    <p id="display"></p>

  <script src="app.js"></script>
</body>
</html>
In the index.html file, we:
- Created an input element that has an id called searching. We also declared the onsearch event attribute that takes in a function
- Lastly, we created a p element that has an id called to display to help show the value of the input field on the page.
app.js
function searchInput() {
  const search = document.getElementById("searching");
  document.getElementById("display").textContent =
   `Searching: ${search.value}`
}
In the app.js file, we:
- Made reference to the function called searchInput() declared in the HTML file.
- Accessed the id’s in the HTML file.
- Lastly, we displayed the value of the input field on the page once the ENTER key is pressed.
RESULT
9). onselect Event
The onselect event only occurs when a particular text has been selected on either the <input type=”text”> or <textarea> elements.
SYNTAX in HTML
<element onselect="myFunction">
Example
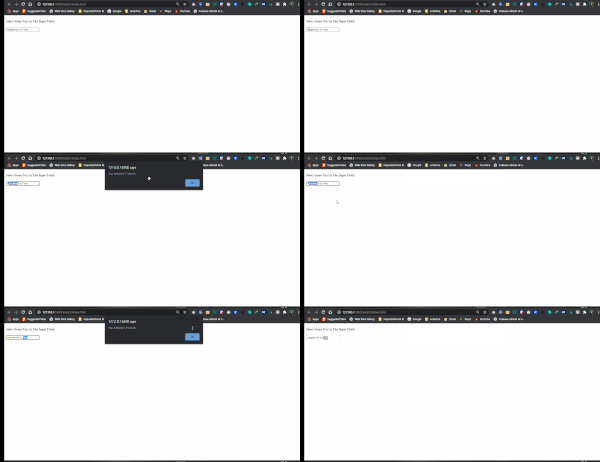
In this example, we will create an input field. The goal is to display the number of text selected in the input field inside an alert pop box.
index.html
<!DOCTYPE html>
<html lang="en">
<head>
  <meta charset="UTF-8">
  <meta name="viewport" content="width=device-width, initial-scale=1.0">
  <title>HTML Form Events</title>
</head>
<body>

  <h4>Select Some Text in The Input Field:</h4>
  <input type="text" value="Happiness is Free" onselect="selected()">
<script src="app.js"></script>
</body>
</html>
In the index.html file above, we:
- Created an input field which contains the value “Happiness is Free”.
- Also, we have our onselect attribute with a function called selected()
app.js
function selected() {
  const highlighted = event.target.value.substring(event.target.selectionStart, event.target.selectionEnd);
  alert(`You Selected ${highlighted.length} Words`);
}
Here we:
- Referenced the selected() function from the HTML page.
- Created a variable called highlighted. Inside this variable, we get the value of text inside the input field, while getting the index at the beginning and the end of the input field.
- Lastly, when the text gets selected, we display an alert box showing the number of words that were selected in the input field.
RESULT
10). onsubmit Event
The onsubmit event gets triggered when a form is submitted on a page, by a user.
SYNTAX in HTML
<element onsubmit="myFunction">
Example
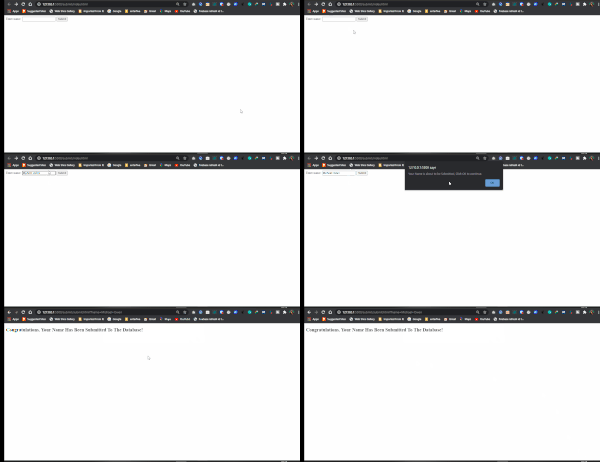
In this example, we will be submitting the values inside a form. We will get a confirmation message from another page.
index.html
<!DOCTYPE html>
<html lang="en">
<head>
  <meta charset="UTF-8">
  <meta name="viewport" content="width=device-width, initial-scale=1.0">
  <title>HTML Form Events</title>
</head>
<body>

  <form action="./submit.html" onsubmit="myFunction()">
    Enter name: <input type="text">
    <input type="submit" value="Submit">
  </form>

<script src="app.js"></script>
</body>
</html>
In the index.html page, we:
- Have a form element with an action that routes to a submit.html page when the form is submitted.
- Inside the form, we also have the onsubmit event attribute, which takes in the function called myFunction()
- Also, have two input elements. One takes in the name input, while the other is a button that helps us submit the form.
app.js
function myFunction() {
  alert("Your Name is about to be Submitted, Click OK to continue.");
}
In the JavaScript file, we simply called the myFunction() declared in the HTML page, then we created an alert box that displays a message when the form is submitted.
submit.html
<!DOCTYPE html>
<html lang="en">
<head>
  <meta charset="UTF-8">
  <meta name="viewport" content="width=device-width, initial-scale=1.0">
  <title>Submit Page</title>
</head>
<body>

  <h2>Congratulations. Your Name Has Been Submitted To The Database!</h2>
</body>
</html>
The submit.html file is the page that gets displayed when the form is submitted.
RESULT
Conclusion
This article aims to cover the basics of how the HTML form event attribute work.
Also, here is the GitHub link to the code examples used in the article.

